Mastering the Open Graph Image to Boost Clicks
Learn to design, implement, and troubleshoot the perfect open graph image. Our guide covers specs, best practices, and tools to boost your social CTR.
Ever shared a link on social media, only to see a bizarre, random image pop up next to it? Maybe it’s a tiny logo from your site’s footer or some stock photo from a completely unrelated section. It’s a common and frustrating problem.
This happens when you don't specifically tell social platforms which picture to use, forcing them to take a wild guess. The result is often an unprofessional-looking preview that does nothing to entice people to click. This is where Open Graph images come in.
What Is an Open Graph Image and Why Does It Matter?
Think of an Open Graph image as the digital book cover for your content. It's the specific visual that platforms like Facebook, X (formerly Twitter), or LinkedIn show when someone shares your link. It’s controlled by a simple og:image tag in your website's code, which turns a boring old URL into a striking, clickable card.
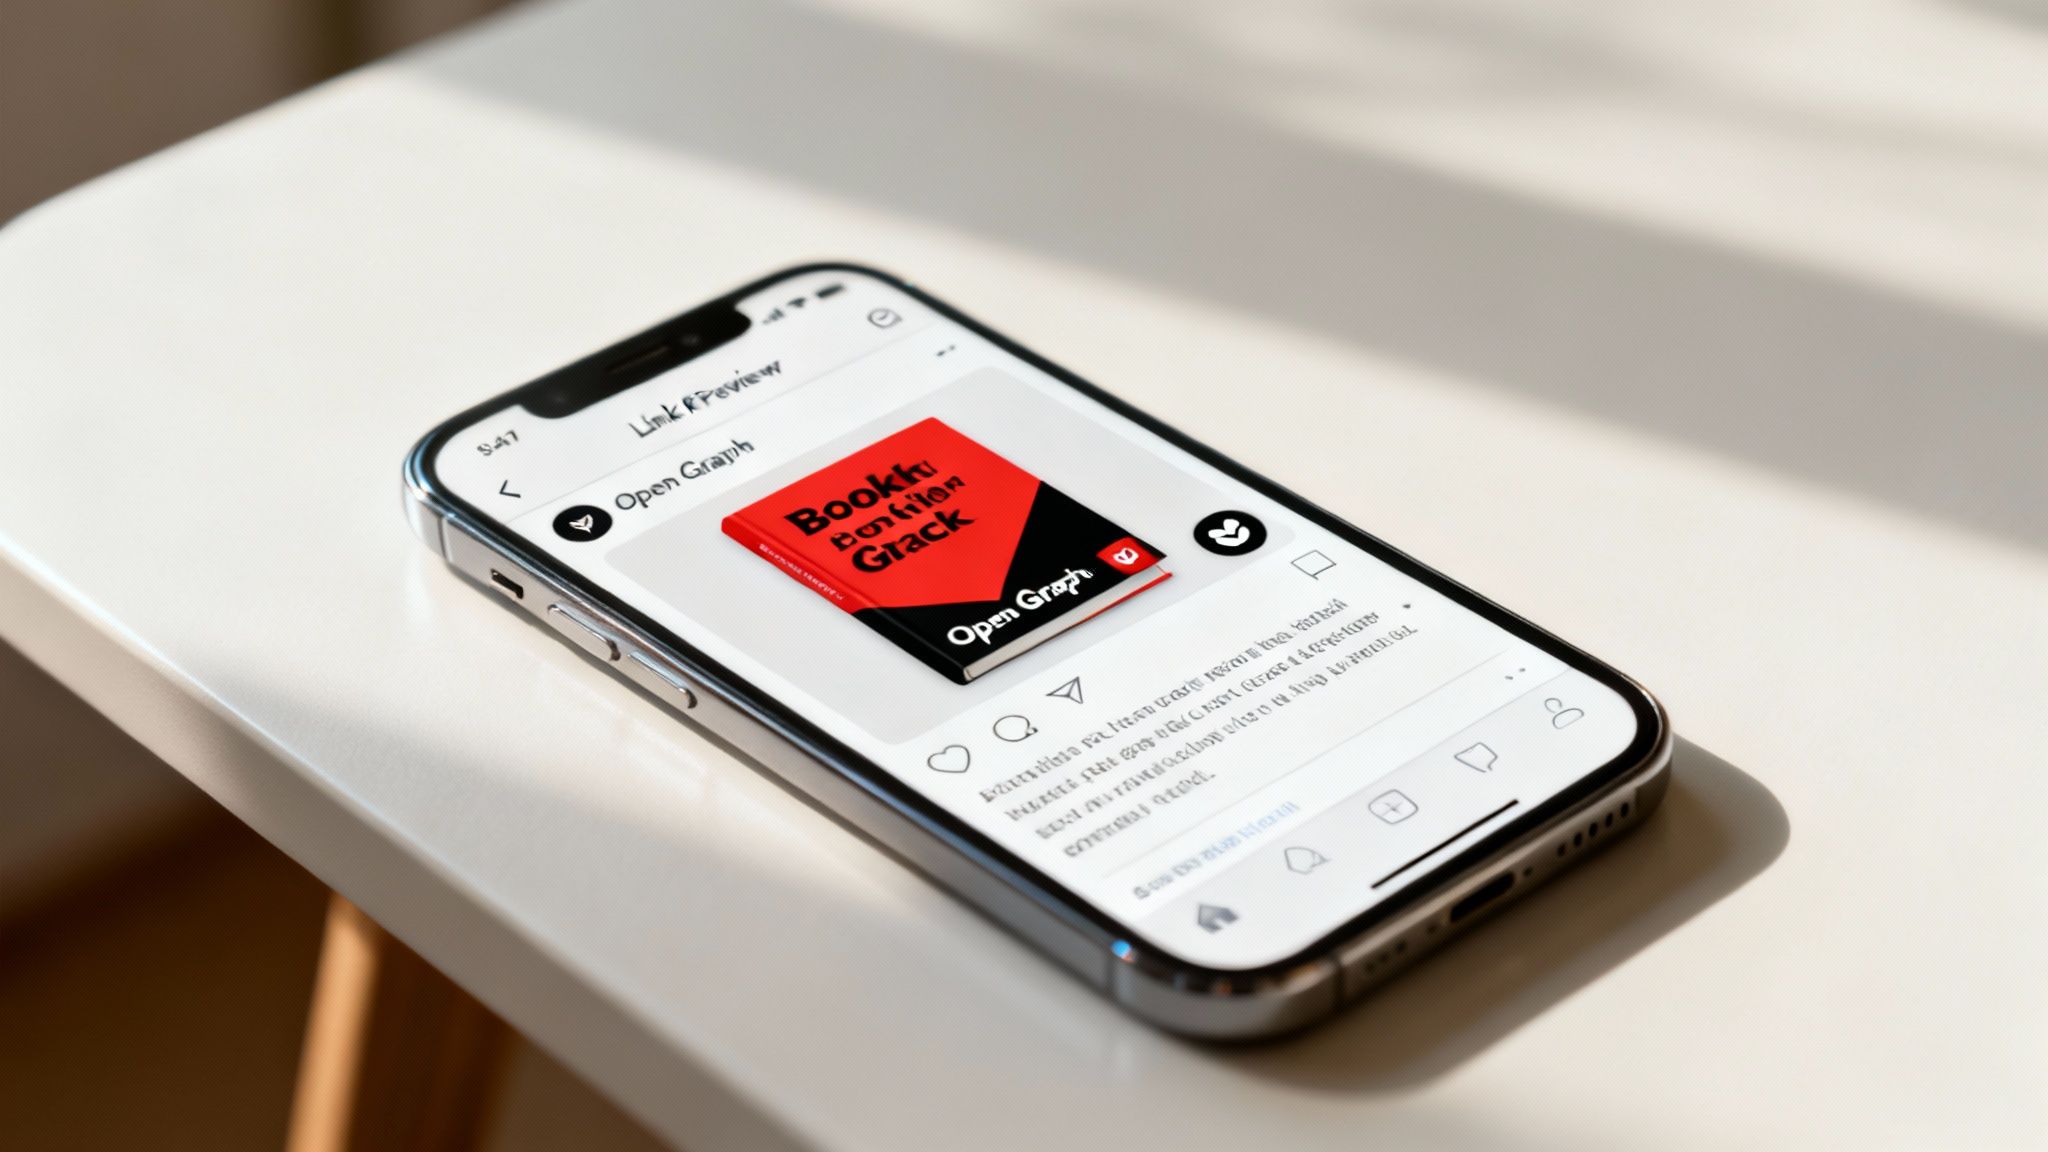
This little piece of code—specifically, <meta property="og:image" content="URL_to_your_image.jpg" />—is part of the Open Graph protocol. This protocol is basically a set of rules that helps social media sites understand your page's content and display it beautifully.
An OG image is your first, and often only, chance to make a good impression in a noisy social media feed.
The Impact on Clicks and Brand Perception
Imagine your content is a product on a packed supermarket shelf. Your Open Graph image is its packaging. A well-designed image grabs attention, signals quality, and convinces people to pick your link over all the others. This isn't just about looking good; it's about getting real results.
An Open Graph image acts as your digital billboard in the fast-scrolling world of social media. It stops the scroll, provides immediate context, and builds brand recognition before a user even visits your website.
If you ignore this, you're leaving your content's first impression entirely to chance. A custom OG image, on the other hand, gives you complete control, reinforcing your brand identity every single time someone shares a link. For businesses, this control directly translates into higher engagement and click-through rates (CTR). In fact, UK businesses that nail their OG images can see a 40-50% increase in social media CTR. For a deeper dive into the numbers, check out the latest UK social media statistics on talkwalker.com.
Let’s quickly summarise the difference it makes.
Open Graph Image Impact at a Glance
A quick look at the benefits of optimising your OG images versus leaving them to chance.
Simply put, taking a few minutes to set up a proper OG image is one of the easiest wins you can get for your content marketing.
How OG Images Connect to SEO
You might be thinking, "This is all for social media, what does it have to do with SEO?" While Open Graph tags are built for social sharing, they have an important, indirect effect on your search engine optimisation.
Here’s how it works:
- Increased Traffic and Engagement Signals: A brilliant OG image gets you more clicks from social media, which means more traffic to your site. When users click through and spend time on your page, it sends positive signals to search engines like Google. These engagement metrics tell them your content is valuable, which can help your rankings.
- Brand Building and Recognition: When people keep seeing your distinct, branded images across different platforms, they start to recognise and trust your name. This brand recall is powerful. Someone who recognises your brand from social media is far more likely to click on your link when they see it in the search results.
- Improved User Experience: At the end of the day, modern SEO is all about creating a fantastic user experience. Making sure your content looks great and is presented clearly everywhere—including social media—is a key part of a holistic strategy. For more on this, our in-depth guide on Webflow SEO and how to optimise your website is a great next read.
Designing an Open Graph Image That Converts
Let's be honest, crafting an Open Graph image is about more than just picking a pretty picture. It’s a mini-masterclass in persuasive design, all aimed at getting someone scrolling through their social feed to stop and click.
A really effective OG image isn't random; it uses a clear visual hierarchy that supports your brand's message and guides the user's eye right where you want it to go.
Key Design Principles
Think of your OG image as a tiny digital billboard or a storefront window. Everything you put on it needs to grab attention and scream "this is valuable" in the split second you have to make an impression.
Your logo needs to be there, but it shouldn't be fighting the headline for attention. You want to build brand recognition without cluttering the main message.
Use bold, high-contrast text on a clean background. This is non-negotiable. Your headline has to be crystal clear whether someone's looking at it on a giant monitor or a tiny phone screen.
The best images either tell a story or ask a question. Visuals that spark a little curiosity are what turn passive scrollers into people who actually click through to your content.
- Centre your key content. This is your best defence against the weird and wonderful ways different platforms might crop your image.
- Use a consistent template. When your content looks familiar, people will start to recognise it instantly, even in a chaotic feed.
- Choose a smart colour palette. Your colours should make the most important element pop and feel true to your brand.
- Add an overlay or a subtle drop shadow. This simple trick can make your text leap off the background, dramatically improving readability.
Keeping everything important tucked into a central "safe zone" is the secret to avoiding awkward trims by Facebook, LinkedIn, or X. You never want your killer headline to get chopped in half.
And trust me, building a repeatable layout will save you so much time. It speeds up your workflow and gives every piece of content a reliable visual signature.
Open Graph Image Design Checklist
Having a checklist takes the guesswork out of the design process. It’s a simple way to make sure you’ve ticked off every critical detail before you hit publish.
Social media platforms are quite specific about this stuff. The sweet spot is 1200 pixels by 627 pixels. Go much smaller than 400 pixels by 209 pixels, and you risk your beautiful image being demoted to a tiny, sad-looking thumbnail that no one will click. You can dig deeper into the specs in this Talkwalker UK social media report.
Sticking to these dimensions helps you dodge blurry previews and weird scaling issues when your link gets shared.
Examples of Good and Bad Designs
The best OG images are beautifully simple. They have a clear focal point, like a clean product shot or a punchy headline on a solid background. They’re easy to understand in a second.
The bad ones? They're usually a mess. Think busy photos where you can't see what's going on, text that's too small to read, or logos awkwardly shoved into a corner.
A great case study from a tech blog showed how a simple redesign—just crisp, white text on a dark blue overlay—drove a 35% jump in clicks. It’s amazing what a little clarity can do.
“A clear, uncluttered OG image can turn a passive impression into a tangible action.”
At the same time, a competitor using an OG image with way too many graphical elements saw their engagement drop by a painful 19%. Less is almost always more.
Practical Design Tips
- Create a grid-based layout. It’s the easiest way to keep your designs consistent and perfectly aligned every single time.
- Keep headlines under 30 characters. People scan, they don't read. Make it quick and easy to grasp.
- Export as WebP if you can. This format gives you smaller file sizes without trashing the image quality, which is great for performance.
- Don’t go crazy with fonts. Stick to one brand typeface for headlines and maybe a second for any smaller text. That's it.
- Always test your previews. Use tools like the Facebook Sharing Debugger and Twitter Card Validator to see exactly how your image will look before it goes live.
Seriously, always check how your image looks on different devices. What looks great on your desktop might be a disaster on a phone.
One final pro-tip: save your design files with clearly named layers and artboards. It makes revisions and collaborating with your team so much faster.
The Power of a Branded Template
Here’s where you can really level up your efficiency. Creating a library of branded templates in your favourite design tool is a game-changer. It ensures every OG image has a consistent look and makes teamwork a breeze.
With presets for grids, typography, and colours, your team can just drop in a new headline and image without having to redesign the whole thing from scratch.
This approach cuts down on so much back-and-forth and makes it incredibly easy to A/B test different messages or visuals. Many brands have found they can cut their design iteration time by up to 60% just by using templates.
- Build with modular components: Have separate, easy-to-move blocks for your logo, text, and background.
- Annotate your templates: Add clear guides for margins and safe zones to help everyone avoid common cropping mistakes.
How to Implement Open Graph Tags on Your Site
So, you've got your perfectly crafted Open Graph image ready to go. Now what? Getting it onto your site involves a little dip into your website's code, but don't let that scare you. It's far simpler than it sounds.
You're essentially adding a few digital signposts to your website's <head> section. These signposts, known as meta tags, are what crawlers from Facebook, X, and LinkedIn read to figure out how to build their link previews. The most important one by far is the og:image tag, which points directly to your image URL.
Think of it like giving a delivery driver a precise address. Without it, they're left to wander around your website, looking for any picture they can find. They might grab your logo, an icon, or some other random image. By giving them a clear URL in the og:image tag, you make sure they pick up the right package every single time.
The Essential Open Graph Meta Tags
While og:image is the star of the show, it needs a few supporting tags to really shine. These provide extra context, making sure your image shows up correctly and is accessible to everyone. Here are the core tags you’ll want to include:
og:image: This one is non-negotiable. It holds the full, absolute URL to your image file (for example,https://yourwebsite.co.uk/images/og-image.png).og:image:width&og:image:height: These optional tags tell platforms the exact dimensions of your image in pixels, like1200and627. Adding them helps crawlers render the image much faster because they don't have to download it first just to measure it.og:image:alt: This provides a text description of your image. It’s absolutely vital for accessibility, as screen readers use it to describe the visual to users with visual impairments.
This infographic breaks down the core components of a winning Open Graph image strategy.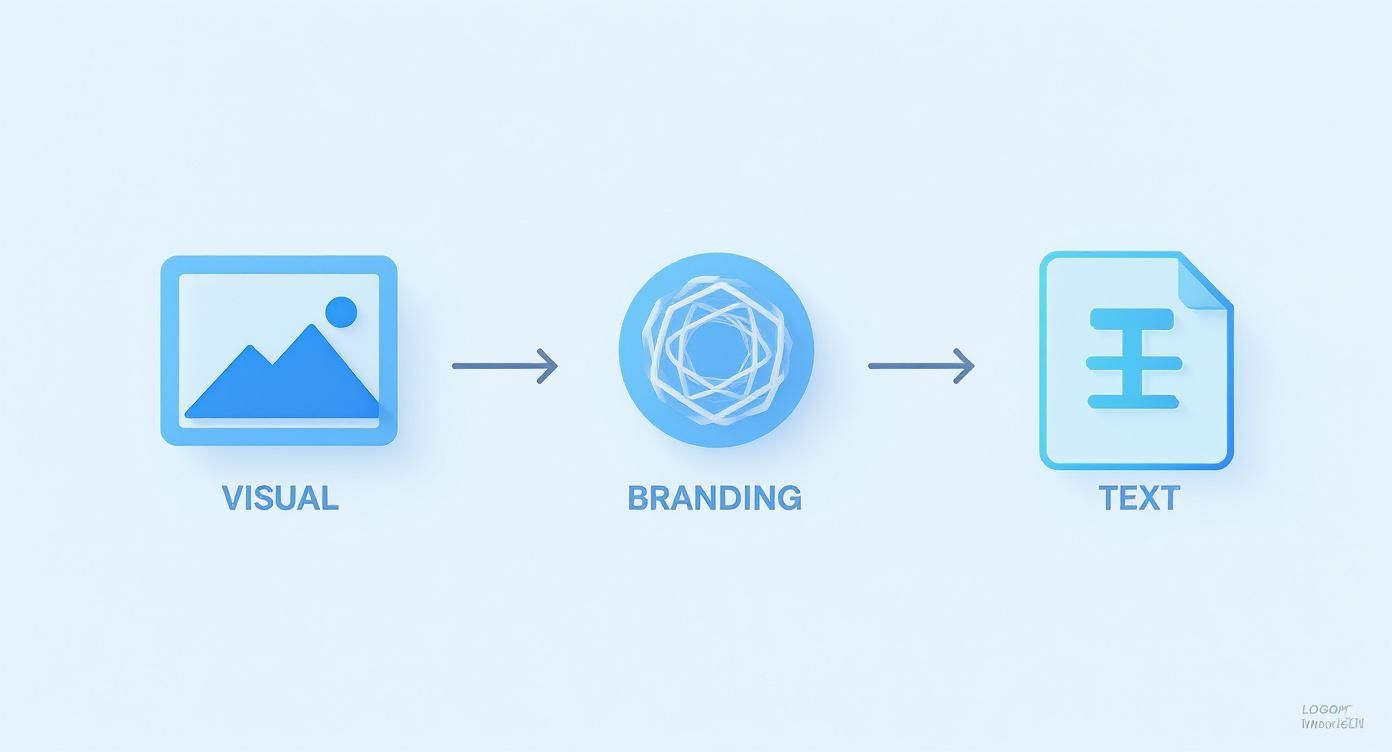
It's the flow from a strong visual to clear branding and concise text that makes these images so effective.
Implementing OG Tags in Webflow
If you're using Webflow, you're in luck. They've made adding Open Graph tags incredibly straightforward with built-in fields that do all the heavy lifting for you. No need to touch a single line of HTML.
Here’s how you can set it up for any page:
- Head over to the Pages Panel in the Webflow Designer.
- Hover over the page you want to update and click the Settings icon.
- Scroll down until you find the Open Graph Settings section.
- In the Open Graph Image field, just upload your custom 1200x627 pixel image. Webflow automatically creates the
og:imagetag and points it to the correct URL. - Webflow also conveniently pulls your page title and meta description for the
og:titleandog:descriptionfields, but you can easily override them here if you want a custom message for social media.
This takes all the guesswork out of formatting your tags correctly. For a deeper dive, check out our guide on Webflow SEO integrations.
Setup for WordPress and Shopify
Not on Webflow? No problem. The process is just as manageable on other major platforms, as long as you have the right tools.
For WordPress Users:
The easiest way to handle OG images is with a good SEO plugin. Tools like Yoast SEO or Rank Math are practically essential. Inside the editor for any page or post, these plugins add a special section where you can:
- Upload a specific "Facebook image" or "Social image."
- Customise the title and description that will appear on social platforms.
The plugins generate all the necessary code behind the scenes, so you can't really go wrong.
For Shopify Stores:
By default, Shopify uses your product’s featured image as the og:image. If you want to customise it for other pages like blog posts or your homepage, you have a couple of options:
- Go to Online Store > Themes.
- Click Actions > Edit code.
- Find and open the
theme.liquidfile. - Here, you can manually add the
og:imagemeta tag into the<head>section, though this does require a bit of comfort with code. - A simpler route is to use an SEO app from the Shopify App Store. Many of these offer a friendly interface for managing OG tags across your entire site without needing to edit theme files.
No matter which platform you use, taking a few minutes to get your open graph image sorted is a fundamental step. It ensures your content makes the best possible first impression, turning a simple link share into a genuine marketing opportunity.
How to Test and Troubleshoot Common OG Issues
https://www.youtube.com/embed/7qZBwhSlfOo
You've designed a brilliant Open Graph image and put the meta tags in place. Now for the most important part: making sure it actually works. Just crossing your fingers and hoping for the best is a recipe for disaster when you share a link and see the wrong image—or no image at all—pop up.
Testing isn't just a good idea; it's a non-negotiable step in the process. It’s the only way to be sure that platforms like Facebook, X, and LinkedIn are seeing exactly what you want them to see. Thankfully, these platforms give us official tools to take all the guesswork out of it.
Using Social Media Debugging Tools
Every major social network has its own 'validator' or 'debugger' tool. Think of them as a friendly robot that visits your URL, reads its Open Graph tags, and reports back. They show you a perfect preview of how your link will look when shared, flagging any errors or warnings they find along the way.
Using them is dead simple but incredibly powerful: you just paste in your URL, click a button, and get instant feedback. This is the only reliable method to see what the platform's cache is holding for your page.
Here are the essential tools you should have bookmarked:
- Facebook Sharing Debugger: The original and still the most important. Since so many other apps (like WhatsApp and iMessage) pull from Facebook's Open Graph data, this is your number one validator.
- X (Twitter) Card Validator: Absolutely essential for checking how your link will appear on X. It looks for Twitter Card tags first but will use standard OG tags as a fallback.
- LinkedIn Post Inspector: The go-to for getting an accurate preview of your link on LinkedIn profiles and company pages.
How to Force a Cache Refresh
One of the most common headaches is caching. The first time a link is shared, social platforms save (or 'cache') its OG data. If you go back and update your og:image tag later, they won't automatically know about the change and will just keep showing the old, cached version.
This is where the debuggers really prove their worth. Each one has a button, usually labelled something like "Scrape Again" or "Fetch Again."
Clicking "Scrape Again" is like telling the platform, "Hey, forget what you thought you knew about this link. Go look at it again, right now." The update is almost always immediate, and this one simple click solves most "why is my old image still showing up?" mysteries.
Solving Common Open Graph Image Problems
Even with the best preparation, things can still go wrong. The good news is that most of these problems have simple, straightforward fixes. Let's walk through the usual suspects.
Problem 1: The Wrong Image Is Displayed
This almost always happens when there's more than one og:image tag on the page, or the URL in your tag is broken.
- Check for Duplicate Tags: Right-click on your page and use your browser's "View Page Source" function. Look in the
<head>section of the HTML and make sure there’s only oneog:imagetag. It’s common for a plugin and your theme to both add one, creating a conflict. - Verify the URL: The URL in your
og:imagetag must be an absolute URL (likehttps://yourwebsite.co.uk/images/my-image.png), not a relative one (/images/my-image.png). The crawlers need the full, complete path to find your image.
Problem 2: No Image Shows Up at All
When nothing appears, it usually means the platform's crawler couldn't get to your image, either because of permissions or file size.
- Check Image Permissions: Your image file has to be publicly accessible. Make sure it isn't blocked by your
robots.txtfile or any server rules. A quick test is to open the image URL in an incognito browser window—if you can see it, so can the crawlers. - Confirm File Size: While there isn't a strict official limit, a good rule of thumb is to keep your open graph image under 5MB. If a file is too big, the crawler might time out before it finishes downloading.
Problem 3: The Image Appears Blurry or Low-Quality
This one is almost always about dimensions. The platform has found a small image and stretched it to fill the preview box, resulting in a pixelated mess.
- Use Recommended Dimensions: Stick to the ideal size of 1200 x 627 pixels. Anything smaller will likely look blurry or stretched. Never, ever use a small logo or icon as your main
og:image. - Check Compression: If you compressed your image too aggressively to shrink the file size, you might have lost too much quality. Try exporting a new version with a higher quality setting.
Advanced Strategies for Dynamic OG Images
Let's be honest: manually creating a unique open graph image for every single blog post, product, or news article is a massive time sink. It’s manageable when you have a dozen pages, but what happens when your site grows to hundreds or even thousands? The manual approach quickly becomes a serious bottleneck, slowing down your content pipeline and putting your brand consistency at risk.
This is exactly where automation becomes a necessity, not just a nice-to-have.
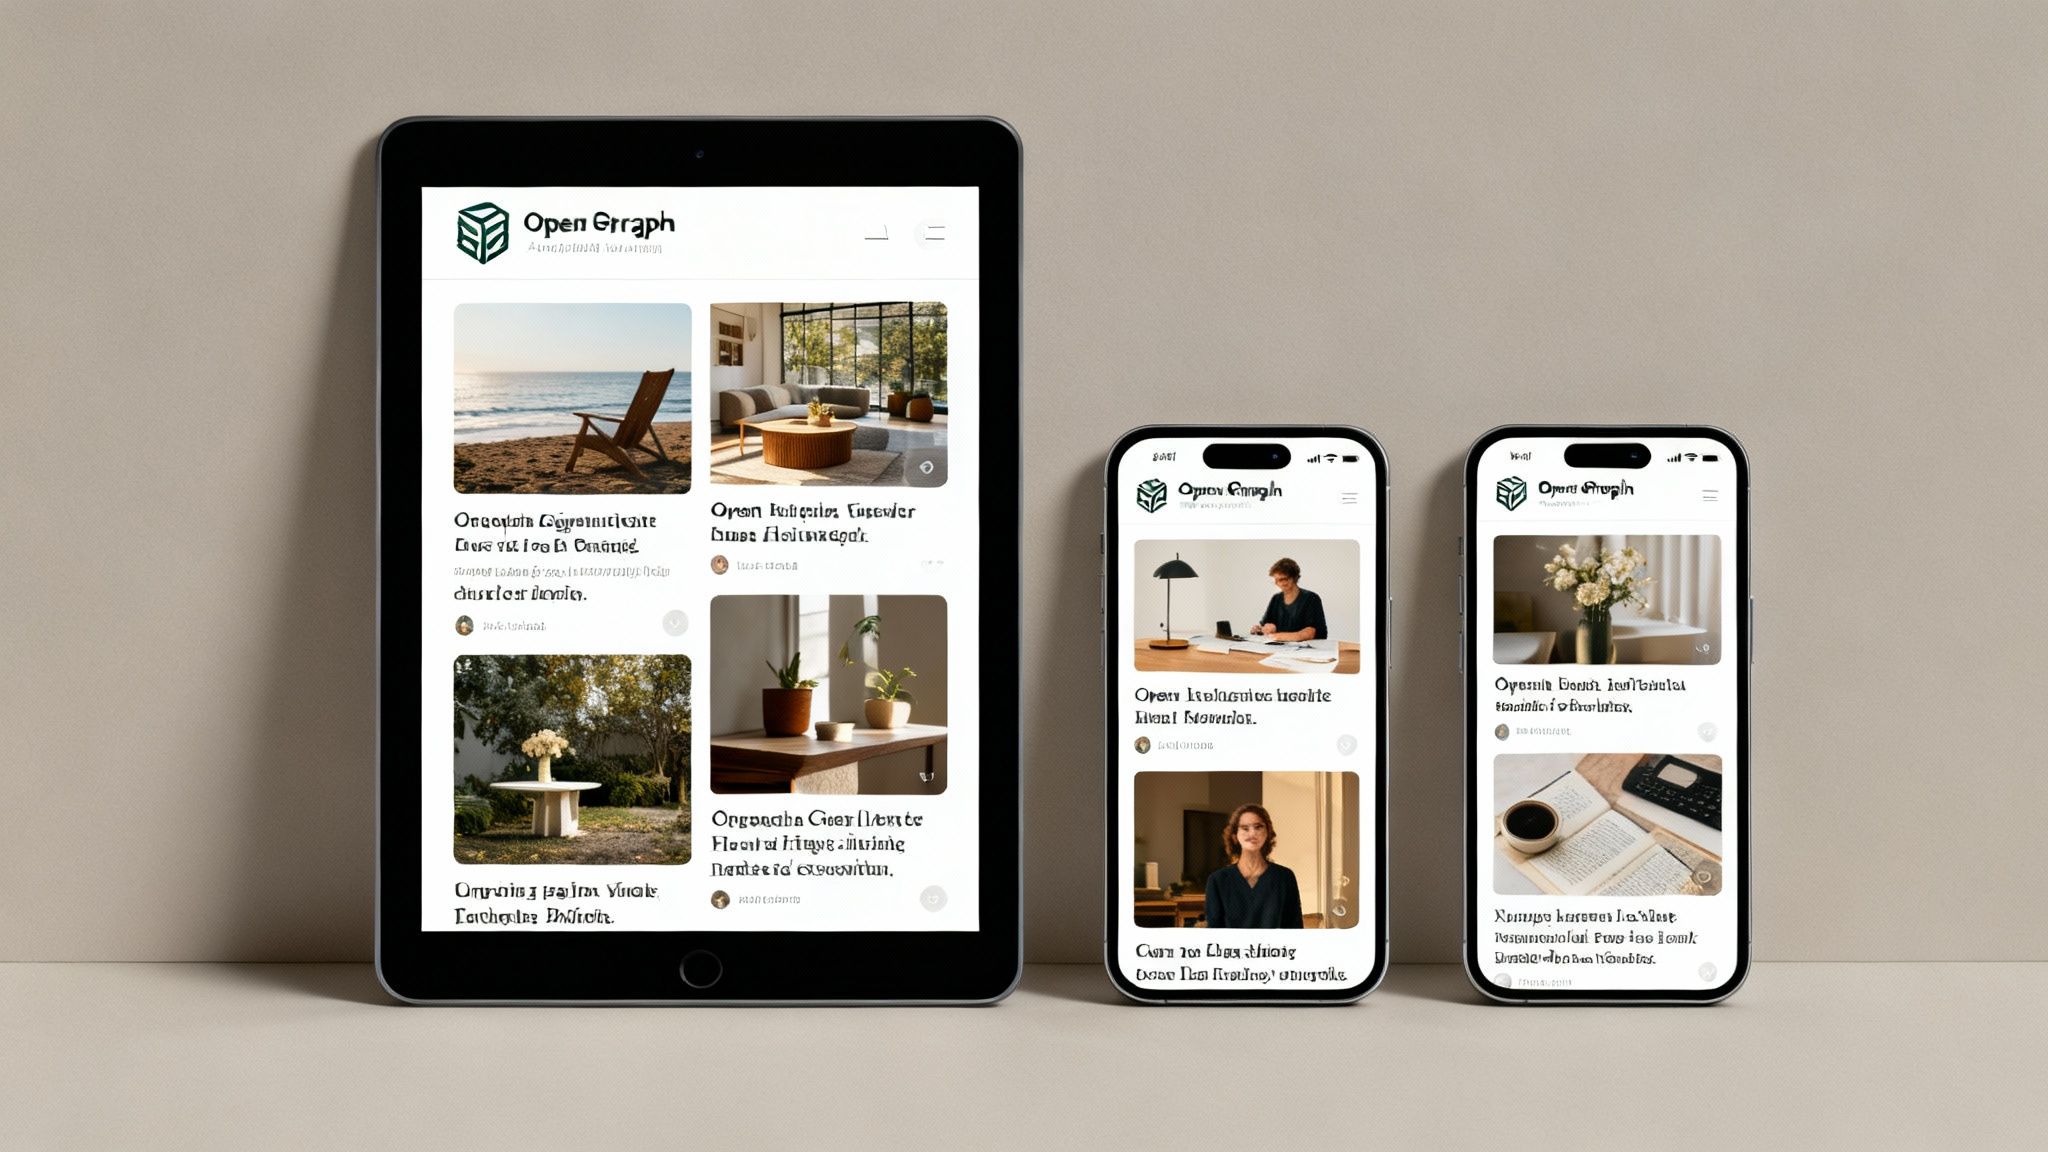
The solution is to use dynamic Open Graph images. This is a more advanced strategy where you automatically generate a unique visual for each page. The system works by pulling data—like the article title, author's name, or product details—straight from your content management system (CMS) and dropping it into a pre-designed, branded template.
Imagine a setup where every time you publish a new blog post, a perfectly branded, relevant OG image is created on the fly. No extra design work, no back-and-forth with your team. That's the power of dynamic image generation.
How Does Dynamic OG Image Generation Work?
At its heart, dynamic image generation is just a programmatic approach to design. Instead of opening up Figma or Canva, you use a service that connects to a template you’ve already created. That service then uses an API to fill in the template with specific data for each page.
The process usually breaks down like this:
- Create a Master Template: You design one high-quality OG image template. This will include your logo, brand colours, and designated placeholders for dynamic elements like the title or an image.
- Connect a Service: You integrate a specialised tool, such as Bannerbear or Placid, with your website. These platforms are built specifically for this kind of automated image generation.
- Generate Images via URL: The service gives you a special URL structure. By simply changing parameters in the URL (like adding the post title), you can create a new image instantly. Your website’s
og:imagetag then just points to this dynamic URL.
This approach ensures every single piece of content, from a new product listing to a ten-year-old blog post, has a professional and consistent preview when shared on social media.
The Benefits of Automating Your OG Images
Switching to a dynamic system offers some pretty big advantages that go way beyond just saving time. It fundamentally streamlines your marketing workflow and strengthens your brand’s presence everywhere online. The impact is so significant that it's quickly becoming standard practice. In fact, a recent analysis found that 68% of surveyed UK marketing agencies now prioritise OG image optimisation as a core part of their social media strategy. You can read more in this comprehensive report on UK social media trends.
Here are the key benefits you can expect to see:
- Massive Scalability: Effortlessly generate unique visuals for thousands of pages without anyone lifting a finger. This is an absolute game-changer for large e-commerce stores, news sites, and busy blogs.
- Absolute Brand Consistency: Every single link shared will feature an image that sticks rigidly to your brand guidelines, reinforcing recognition and building trust.
- Enhanced Relevance: Dynamically adding the post title right onto the image makes the social preview far more compelling and instantly informative, which can directly boost your click-through rates.
- Reduced Design Overhead: Free up your design team from doing the same repetitive task over and over. They can then focus on more strategic and creative work that actually moves the needle.
By automating your open graph image creation, you transform a repetitive manual task into a scalable system that works for you, ensuring every piece of content makes a powerful first impression, every single time.
Ultimately, this strategy lets you maintain an incredibly high level of quality and professionalism as your content library explodes. Instead of having to choose between speed and quality, you get both, making sure your brand stands out in today's incredibly crowded social feeds.
Fine-Tuning Your OG Image: Performance and Accessibility
A great-looking Open Graph image is a fantastic start, but it's only half the story. To really nail your social sharing, that image needs to be fast and inclusive. These are two critical, yet often forgotten, aspects of optimisation that make sure your content isn't just seen, but experienced properly by everyone.
Let’s tackle performance first. While a hefty OG image file won’t actually slow down your website for visitors, it can cause a headache for the social media crawlers trying to fetch and process it. If an image is slow to load, it might delay the preview from showing up or, even worse, cause it to fail completely.
The goal is to find that sweet spot between visual quality and file size. This comes down to smart compression and picking the right format for the job. We get into the nitty-gritty of this in our guide to optimise images in Webflow.
Choosing the Right File Format
The file format you choose has a massive impact on the final file size. Each one has its own strengths, and knowing which to use is a simple but powerful step in optimising your open graph image.
- JPEG (JPG): This is your go-to for photographs and images with lots of complex colours and gradients. It offers fantastic compression, letting you shrink file sizes way down with very little noticeable loss in quality.
- PNG: Best for graphics that need sharp lines, text, and especially transparency—think logos or designs with solid blocks of colour. PNG files are lossless, which means perfect quality, but they're often larger than JPEGs.
- WebP: This is the modern option that gives you the best of both worlds. It provides amazing compression for both photos and graphics, often resulting in file sizes 25-35% smaller than its JPEG or PNG counterparts without losing quality.
Getting the performance right means social media platforms can grab and show your link preview quickly and reliably. That speed is vital when the average UK adult spends 39 minutes a day on social media, where you’ve got milliseconds to grab their attention. You can find more stats on UK social media habits on talkwalker.com.
Making Your Content Accessible
Performance is important, but accessibility is everything. A truly open web means creating content that everyone can engage with, including people who use screen readers because of visual impairments. This is where the og:image:alt tag becomes your best friend.
This simple bit of code provides a text description for your Open Graph image. When someone using a screen reader comes across your shared link, their device will read this description out loud. It gives them the same context that sighted users get from just looking at the picture.
Adding it couldn't be easier. Right alongside your other OG tags in the <head> of your page, you just pop in this line:<meta property="og:image:alt" content="A descriptive summary of the image content." />
By taking a moment to include this tag, you’re doing more than just following best practices. You’re making sure your message can reach a wider audience, making your entire social strategy more ethical and, ultimately, more effective.
Right then, let's tackle some of the common questions that pop up when you're getting your hands dirty with Open Graph images.
Lots of people ask about the nitty-gritty of using them in the wild, so here are some quick answers to clear things up.
Getting your OG image right isn't just a "nice-to-have." We've seen a targeted OG image drive 40-50% more clicks. It just gives your social posts that professional, branded feel that stops the scroll.
Can I use a different Open Graph image than my article's main image?
Yes, and you absolutely should. The hero image on your blog post is designed to fit your website's layout. Social media feeds are a completely different beast, and they love that 1200 x 627 pixel canvas. Using a custom OG image lets you cook up something special for those feeds – think bold headlines, your logo, or other branding elements that make your link irresistible.How long does it take for social platforms to update my OG image?
Ah, the classic caching issue. When you update your image, platforms like Facebook and Twitter will often cling to the old version for a while. The trick is to give them a nudge. Just pop your URL into the Facebook Sharing Debugger or Twitter Card Validator and hit "Scrape Again". This forces their servers to grab the shiny new version instantly.
Common Mistakes to Avoid
Forgetting the
og:imagetag entirely: This is the most common pitfall. If you don't specify an image, the platform will take a wild guess, often grabbing your logo or some random icon. Not a great look.Using the wrong dimensions: An image that isn't 1200 x 627 pixels will likely get cropped or look blurry and unprofessional in the feed.
Skipping alt text: Don't forget
og:image:alt. It's a simple step that makes your content more accessible to everyone.So, what happens if I don't specify an Open Graph image at all?
Social media platforms will try to be helpful and pull any image they can find on your page. This might be a tiny logo from your footer, an author's headshot, or a completely unrelated graphic. The result? A messy, off-brand preview that tanks your click-through rate and makes you look amateurish.
A little bit of experimentation goes a long way. Try out different designs with bold colours and snappy headlines to see what your audience clicks on most.
For a deeper dive into setting this all up in Webflow, just scroll back up to the main tutorials and troubleshooting guides.
Ready to make your social previews impossible to ignore? Book a call with Derrick.dk.
Webflow Developer, UK
I love to solve problems for start-ups & companies through great low-code webflow design & development. 🎉

.jpg)
